Microsoft
Available from v0.5.0
Microsoft authentication is supported out-of-the-box, you just need to register an App in your Azure portal and obtain a client_id, client_secret and optionally a tenant_id.
For a detailed guide on how to register the app on Azure, check the section below.
Configuration
This is the configuration needed
in plombery.config.yaml:
auth:
  provider: microsoft
  client_id: $MICROSOFT_CLIENT_ID
  client_secret: $MICROSOFT_CLIENT_SECRET
  microsoft_tenant_id: $MICROSOFT_TENANT_ID
The values starting with $ are replaced with environmental variables, in this way secret values
are decoupled from the configuration file that is normally versioned in git,
you can modify the name of those variables as long as they match the names used in the plombery.config.yaml:
Scope
The preset requests the openid email profile scope, which is what Plombery
needs to identify the signed-in user. To request more, set client_kwargs
alongside the provider — it replaces the preset's scope, so list every scope
needed:
auth:
  provider: microsoft
  client_id: $MICROSOFT_CLIENT_ID
  client_secret: $MICROSOFT_CLIENT_SECRET
  client_kwargs:
    scope: openid email profile User.Read
Tenant ID
The microsoft_tenant_id config is optional and depends on how you registered your application in Azure.
If you configured your Azure Application Registration to allow users only from your tenant, then you need
to supply this option, otherwise this option must be omitted and the common tenant is used in the
OAuth endpoints.
How to register an app on Azure
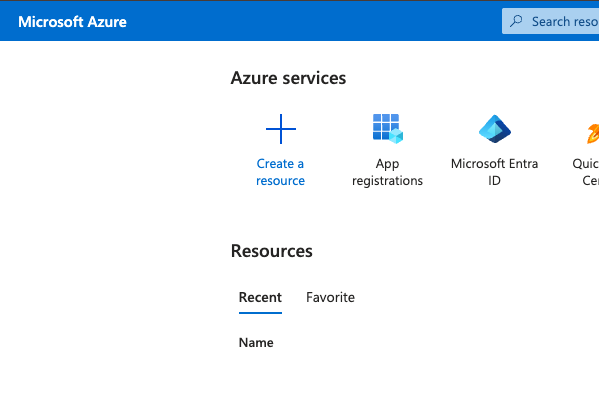
Go to the Azure Portal and click on App registrations, normally it's in the homepage, otherwise search for it:
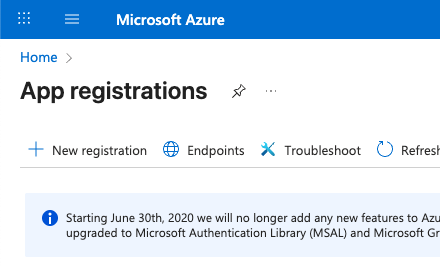
Then click on New registration:
Fill the form, the app name is just for display, while the Supported account types is very important as it states who can access the app. Choosing Accounts in this organizational directory only it's the most restrictive option and it's probably what you want, it means that only your company's user can access Plombery, while the other options allow any user to access Plombery.
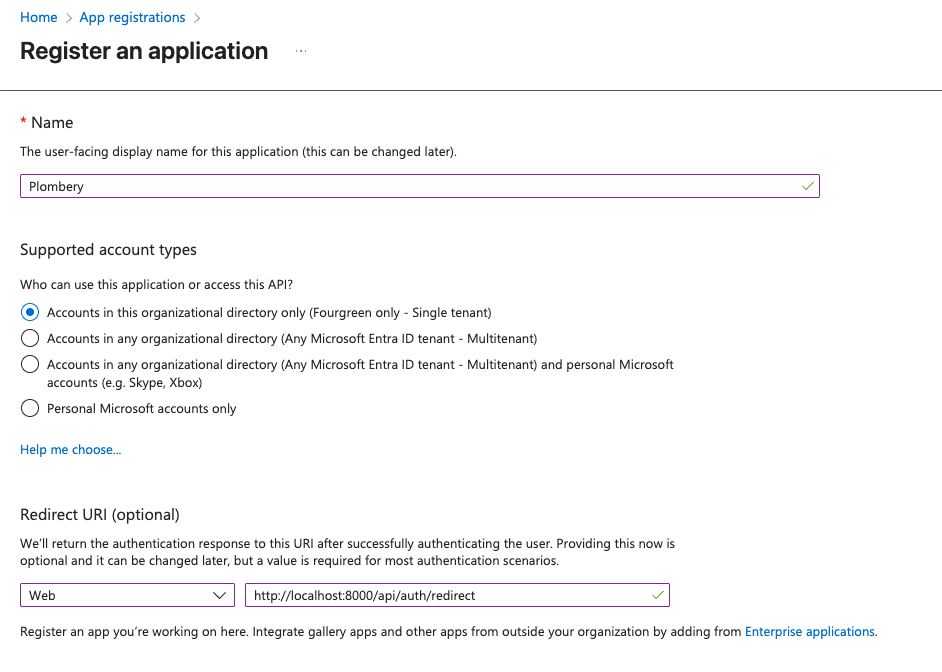
For the redirect URI, choose Web as type and for the actual URI, use the path /api/auth/redirect, so when testing locally the URL is by default http://localhost:8000/api/auth/redirect, while
in production it will be something like https://plombery.yoursite.com/api/auth/redirect.
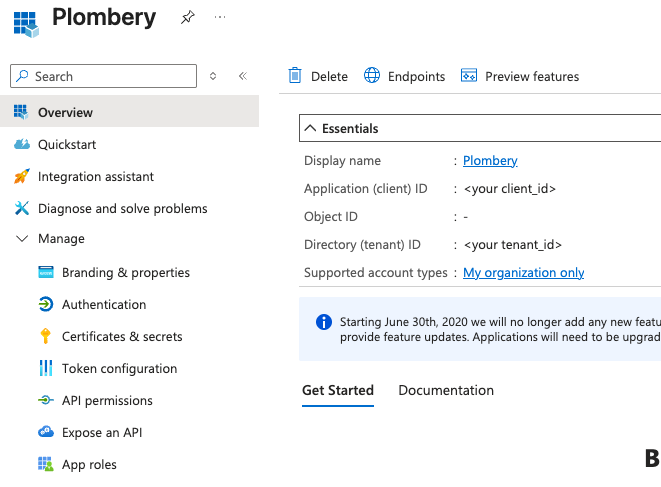
Once the app is created, you'll find the client_id (Application (client) ID) and (Directory (tenant) ID) tenant_id in the app overview page:
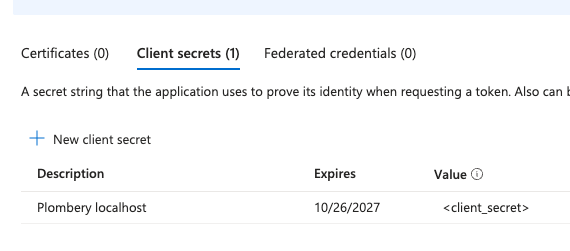
Now go to Certificates & secret to obtain the client_secret, click on the tab Client secrets and on New client secret:
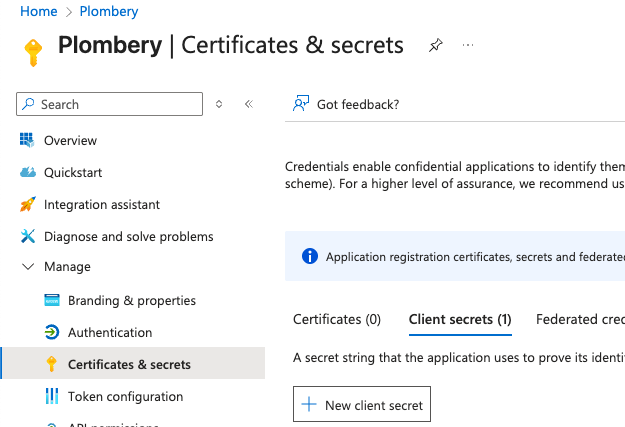
Enter a description and expiration date and you're done, the client_secret is the one in the value column, not in the Secret ID: